Exploring VisionOS Apps with React Native


As technology continues to evolve, our digital experiences are constantly being reshaped. One exciting innovation on the horizon is VisionOS – a platform that seamlessly blends visual and interactive elements into our daily digital interactions.
In this introductory guide, we take a closer look at VisionOS applications and how developers can utilize React Native to create immersive experiences. Whether you're an experienced developer or simply curious, come along as we explore the potential of VisionOS and its impact on user interfaces.
Join us as we embark on this journey into the world of VisionOS – where technology and human experience converge to redefine our digital interactions.
We will be utilizing the React Native VisionOS fork developed by Callstack throughout this guide. To learn more about this fork and its functionalities, you can find additional information here.

Prerequisites for Developing on VisionOS
Before we begin, let us review the prerequisites for developing apps on the VisionOS platform:
- Download the latest Xcode: Ensure you have the latest version of Xcode installed on your machine, with a minimum version of 15.2.
- Ensure you have proper development environment for React Native set up. Follow the guide here for the same.
- Install VisionOS simulator runtime.
- Install the latest version of CMake.
Setting Up the Codebase
Now lets get started with setting up the codebase for an app in VisionOS and running the same in a VisionOS simulator.
1. To initiate a new project using the React Native VisionOS fork developed by Software Mansion, please run the following command in your terminal:
Replace YourApp with the desired name for your project.
2. Now, navigate to the VisionOS folder, YourApp/visionos within your project directory, and run the following commands to install pods specifically for the VisionOS target:
These commands will ensure that the necessary dependencies are installed for the VisionOS target within your React Native project.
3. To start the Metro bundler, simply run the following command in your terminal:
This command will initiate the Metro bundler, which is responsible for building your React Native project and bundling JavaScript modules for use in the app. Keep this terminal window open while you work on your project to ensure the bundler remains active.
4. Now run
To start the app in the simulator. Make Sure that you start the metro before proceeding.
Alternatively, you can open the project YourApp/visionos/YourApp.xcworkspace in Xcode and run it through Xcode as well.
Once the app is running you will see the below screen:
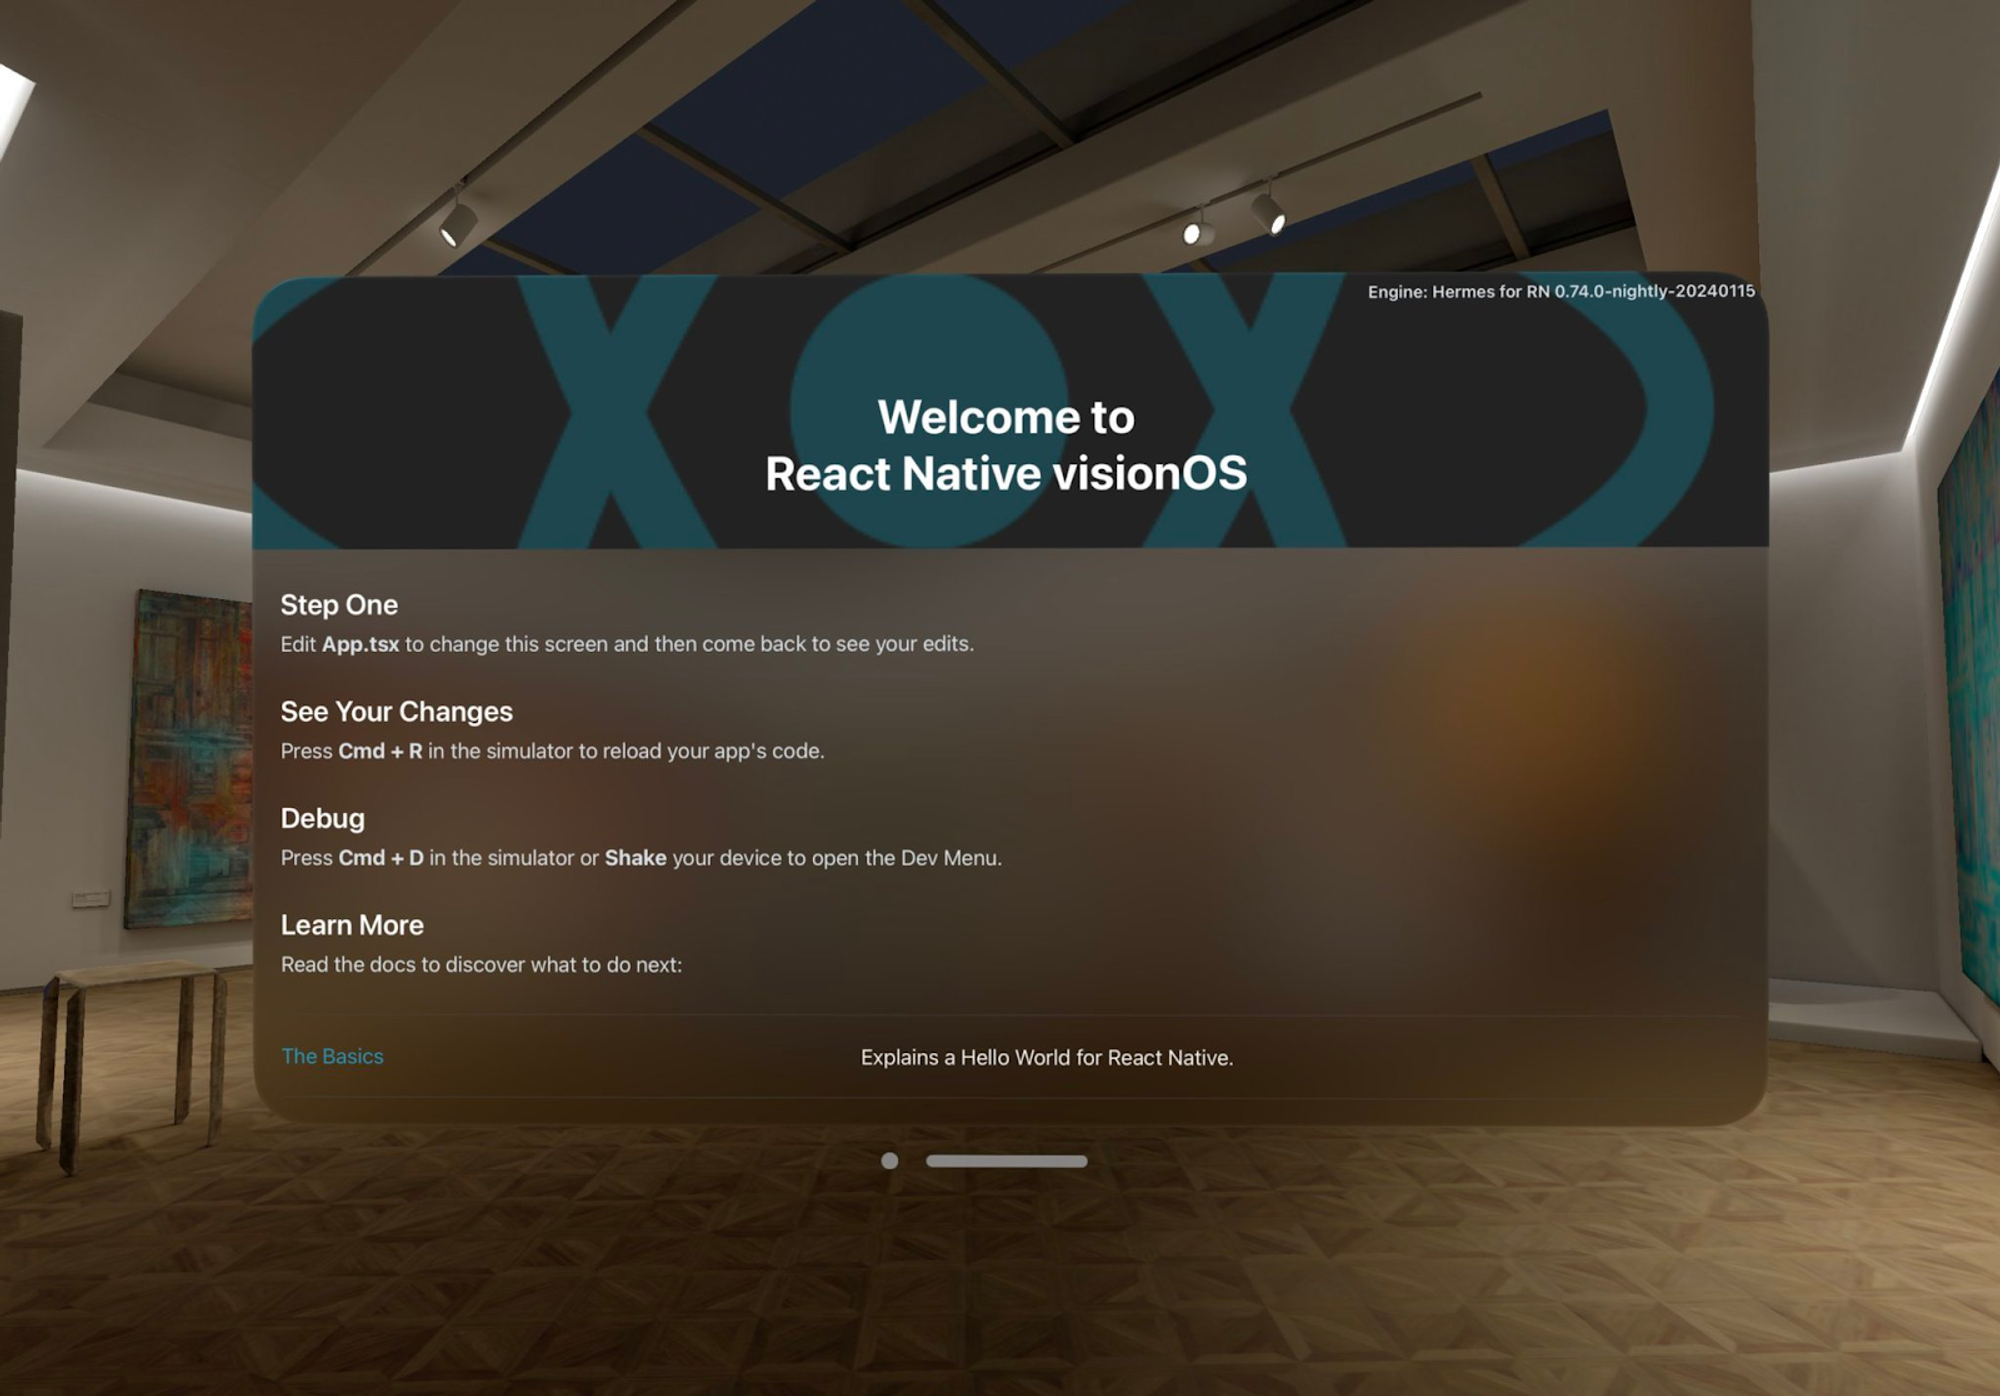
Now you can edit your code as in any React Native apps, and your app changes will reflect immediately.
Examples and Experiments
While the library support may be limited at present, many major libraries are actively adding support for VisionOS. Some popular examples include react-native-reanimated, react-native-gesture-handler, and react-native-video. Keep an eye out for updates as these libraries continue to enhance their compatibility with the VisionOS platform.
If your existing React Native app doesn't rely on dependencies that aren't supported in VisionOS, it should work on VisionOS with minimal modifications.
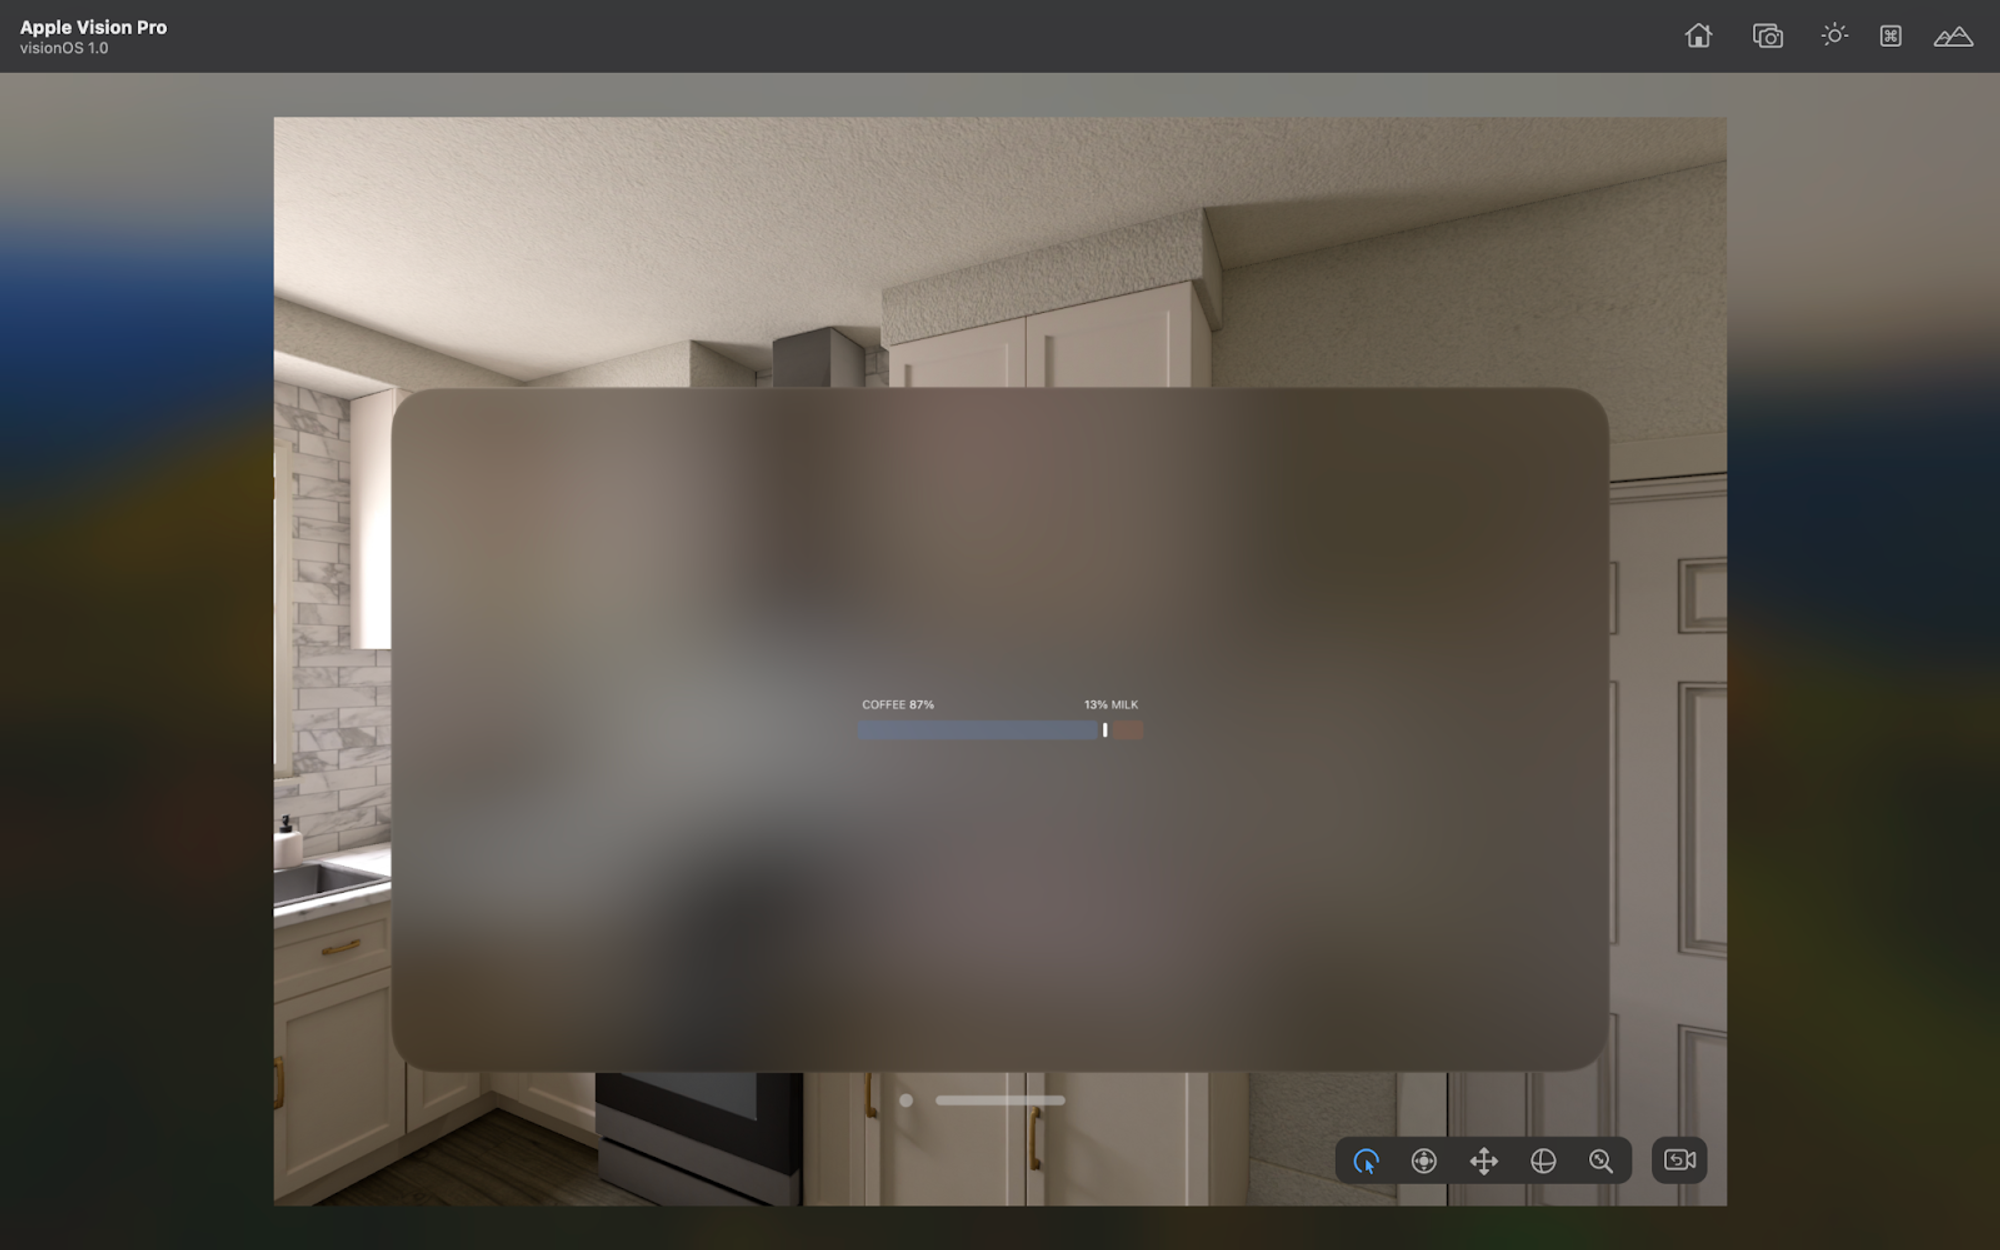
To test this, we experimented with an animated component originally built for a mobile app using Expo. Since it already utilized react-native-reanimated and react-native-gesture-handler as existing dependencies, it functioned as expected on VisionOS without any issues.
This highlights the compatibility of existing React Native projects with VisionOS, provided they don't heavily rely on unsupported dependencies.
And most pf the JS dependencies or libraries should also work. We did try out a state management library which worked the same as in any React Native app.
Integrate into Existing React Native Apps
If you want to run your existing React Native app on VisionOS, you can do the same as well as long as the dependencies of the project are supported for React Native VisionOS.
To extend your existing app’s capabilities by adding visionos as a new platform, follow these steps
1. Initiate a new project using the React Native VisionOS, run the following command in your terminal to do so:
Use the same name that you have in your main app.
2. Copy visionos folder from the codebase to your destination project, your existing React Native app.
3. Add the required dependencies to your React Native app to support VisionOS:
4. Modify metro.config.js to include custom resolver .This resolver rewrites imports from react-native -> @callstack/react-native-visionos when bundling the app for that platform.
Now, you can run your app in VisionOS using the steps mentioned above to the run the VisionOS app and it should work.
Summing Up
Go ahead, experiment and delve into the functionalities of React Native for visionOS to create immersive experiences of your own. It is an exciting new technology that promises a lot. However, keep in mind that it is still in its early stages and may have some issues.