Nov 21, 2022
Why Use Laravel Horizon and How To Set It Up?
Laravel Horizon is a queue manager that gives you full control over your queues. lt is a wonderful tool for executing and monitoring queue workers.
Author

Book a call
🤝 Introducing Redis Queues
Redis Queue is a Python package that allows you to queue jobs for background processing. Because many hosting providers will time out on lengthy HTTP queries, APIs should be designed to close requests as soon as possible. We may do this using Redis Queue by routing jobs to a queue and then to a worker for processing.
With Redis queues, the processing time of queues is faster than the database queues, and to run a high number of jobs on a project, it becomes difficult to run with database queues. Also, you don't get Horizon without Redis.
🤔 Why Laravel Horizon?
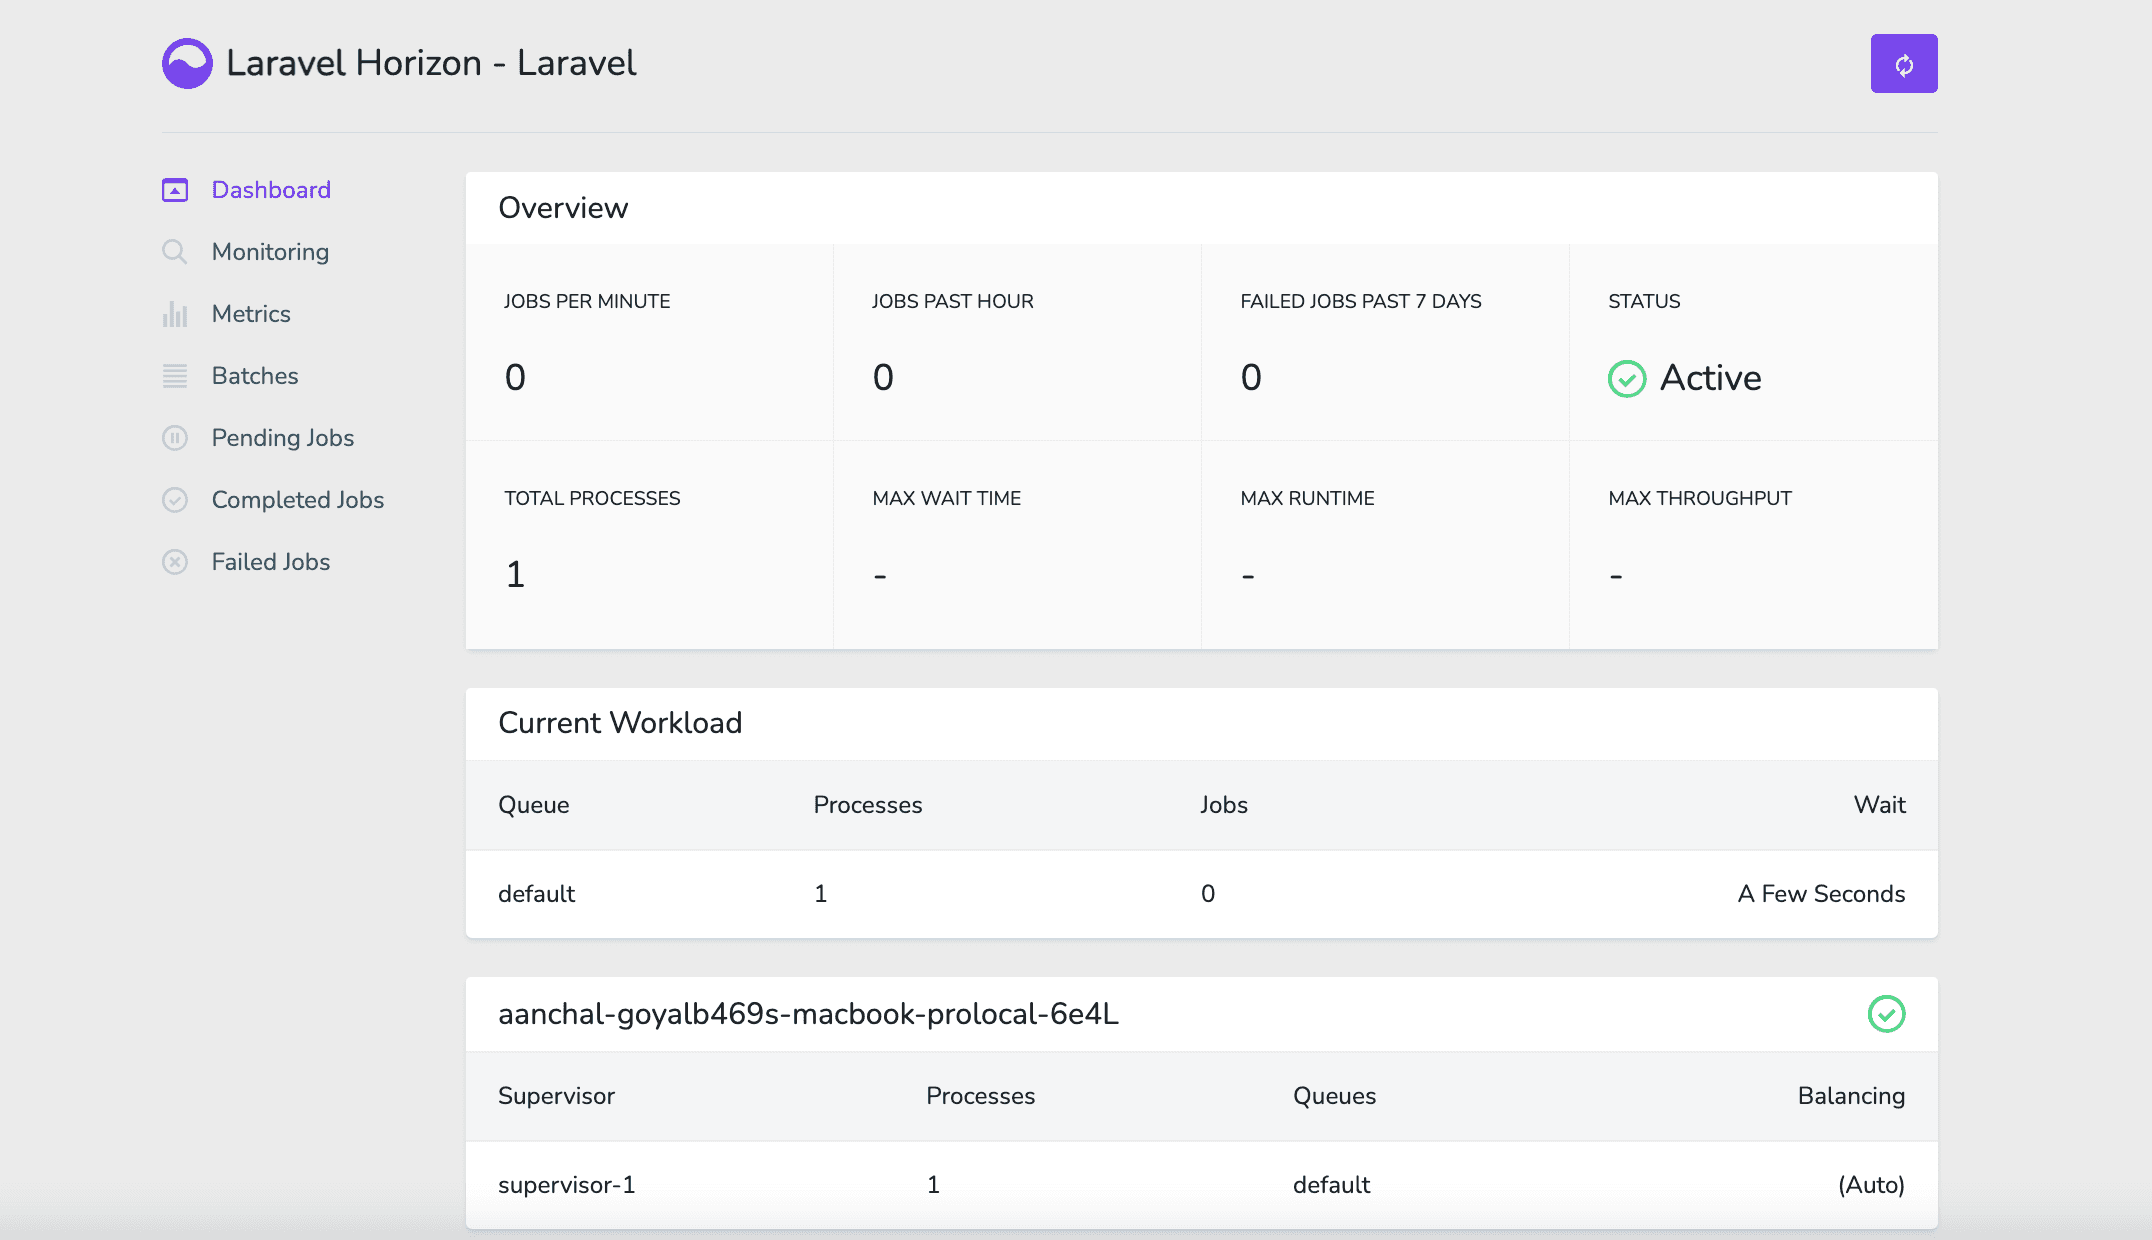
The Laravel horizon package is used to manage Laravel-powered Redis queues. It provides a beautiful dashboard for the queues. This package allows users to configure jobs, generate analytics, and monitor queue-related tasks, including job run-time, failure, throughput, etc. The configuration information of all the team members of the project is stored in a single file that can be controlled centrally.
This article shows you how to install and run Laravel horizon in your Laravel application. And in the end, I shall also share why I enjoy working with Laravel. Let’s get started.
✅ Step 1: Installing Redis on MAC and starting the Redis server
First, let me install Redis on my system. If it is already installed in yours, start the server and jump to Step 2.
To install Redis, you need to run the following command.
After installing the redis, start the server by using the below command.
If successful, you'll see the startup logs for Redis, and Redis will be running in the foreground.
✅ Step 2: Installing predis and configurations required for Redis in our application
Coming back to our application, let’s add some packages. So, to use Redis with PHP, a PHP Redis client is needed. Therefore, I have installed predis in our application by using the following command.
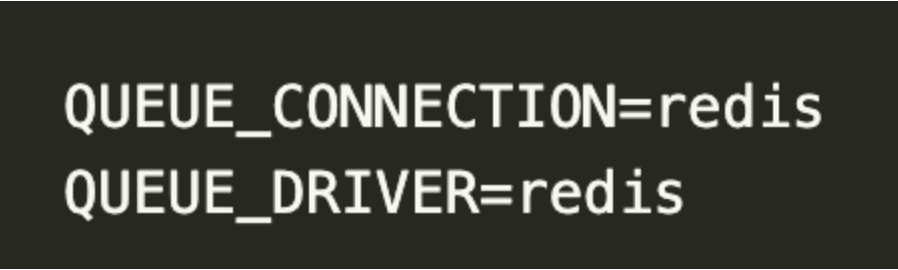
Open .env and set values as shown below.
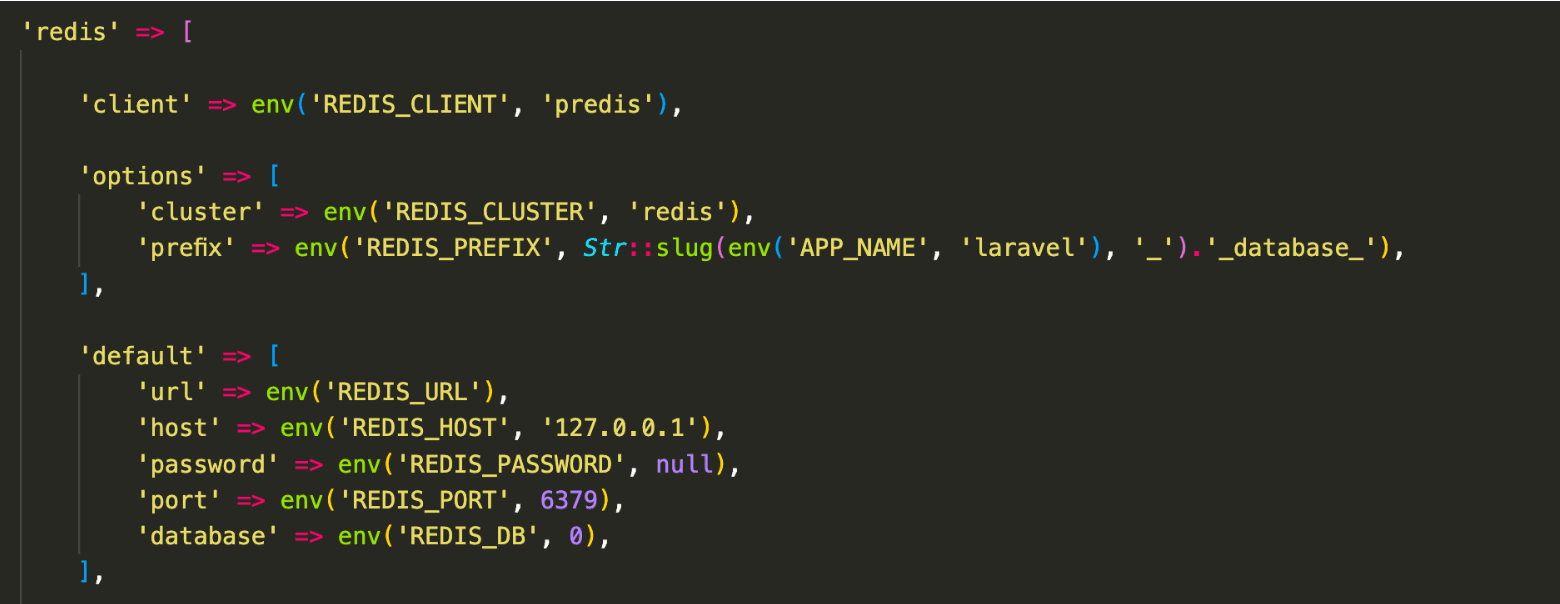
Make changes in config/database.php and replace 'phpredis' with 'predis'
✅ Step 3: Installing Horizon package and its configuration
To install the package, run this command in the terminal
After installing Horizon, publish its assets using the horizon:install Artisan command:
After publishing Horizon's assets, its primary configuration file will be config/horizon.php. This configuration file allows us to configure the queue worker options for our application.
✅ Step 4: Starting the horizon
After the successful installation and configuration of the horizon. Now, let’s start our horizon by running the below command in the terminal.
And lastly, Horizon exposes its dashboard at the URL: http://127.0.0.1/horizon.
☑️ Conclusion
After following all the steps given above, you will successfully be able to integrate Laravel Horizon into your application.
As a developer, I found Horizon helpful because of the following -
- It provides an easier way to manage Redis queues in Laravel.
- A very readable and understandable dashboard by which we can monitor your queue system.
- It offers various plugins to send alerts over multiple tools, such as Slack.
- It delivers an easy-to-use code-driven configuration.
- It also provides a very efficient auto-scaling of jobs feature.
This article helps you understand Laravel Horizon and interests you in implementing the same in your apps.
Happy Learning!!
Related Articles.
More from the engineering frontline.
Dive deep into our research and insights on design, development, and the impact of various trends to businesses.

May 28, 2026
How to Modernize Your Fintech App Without Rebuilding Everything
This blog gives fintech leaders a practical framework for modernizing a fintech app without rebuilding it. It covers system audits, module-level decision making, phased API and integration-led execution, compliance protection, and team model selection.
May 28, 2026
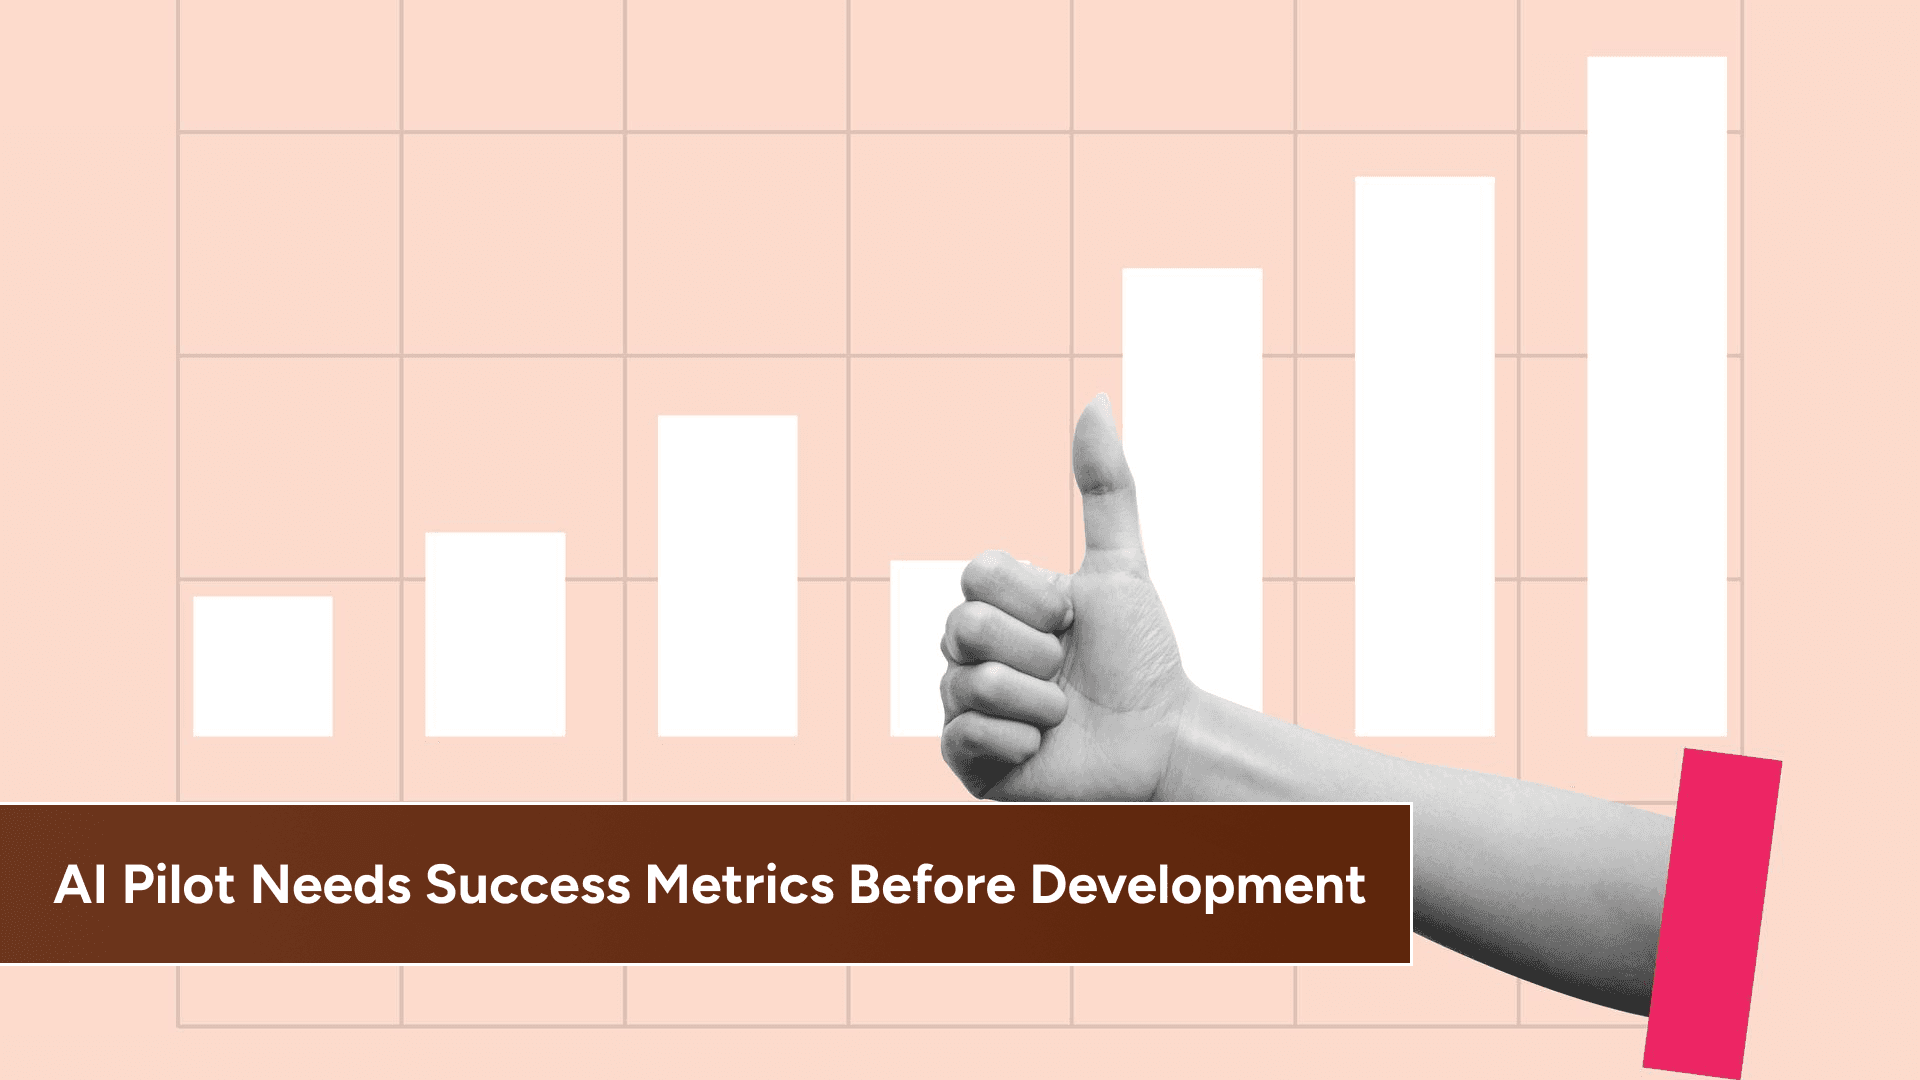
Why Your First AI Pilot Needs Success Metrics Before Development Begins
95% of AI pilots deliver zero measurable profit impact. Learn the critical importance of establishing concrete success metrics and operational constraints before writing any code to ensure your project scales.
May 28, 2026
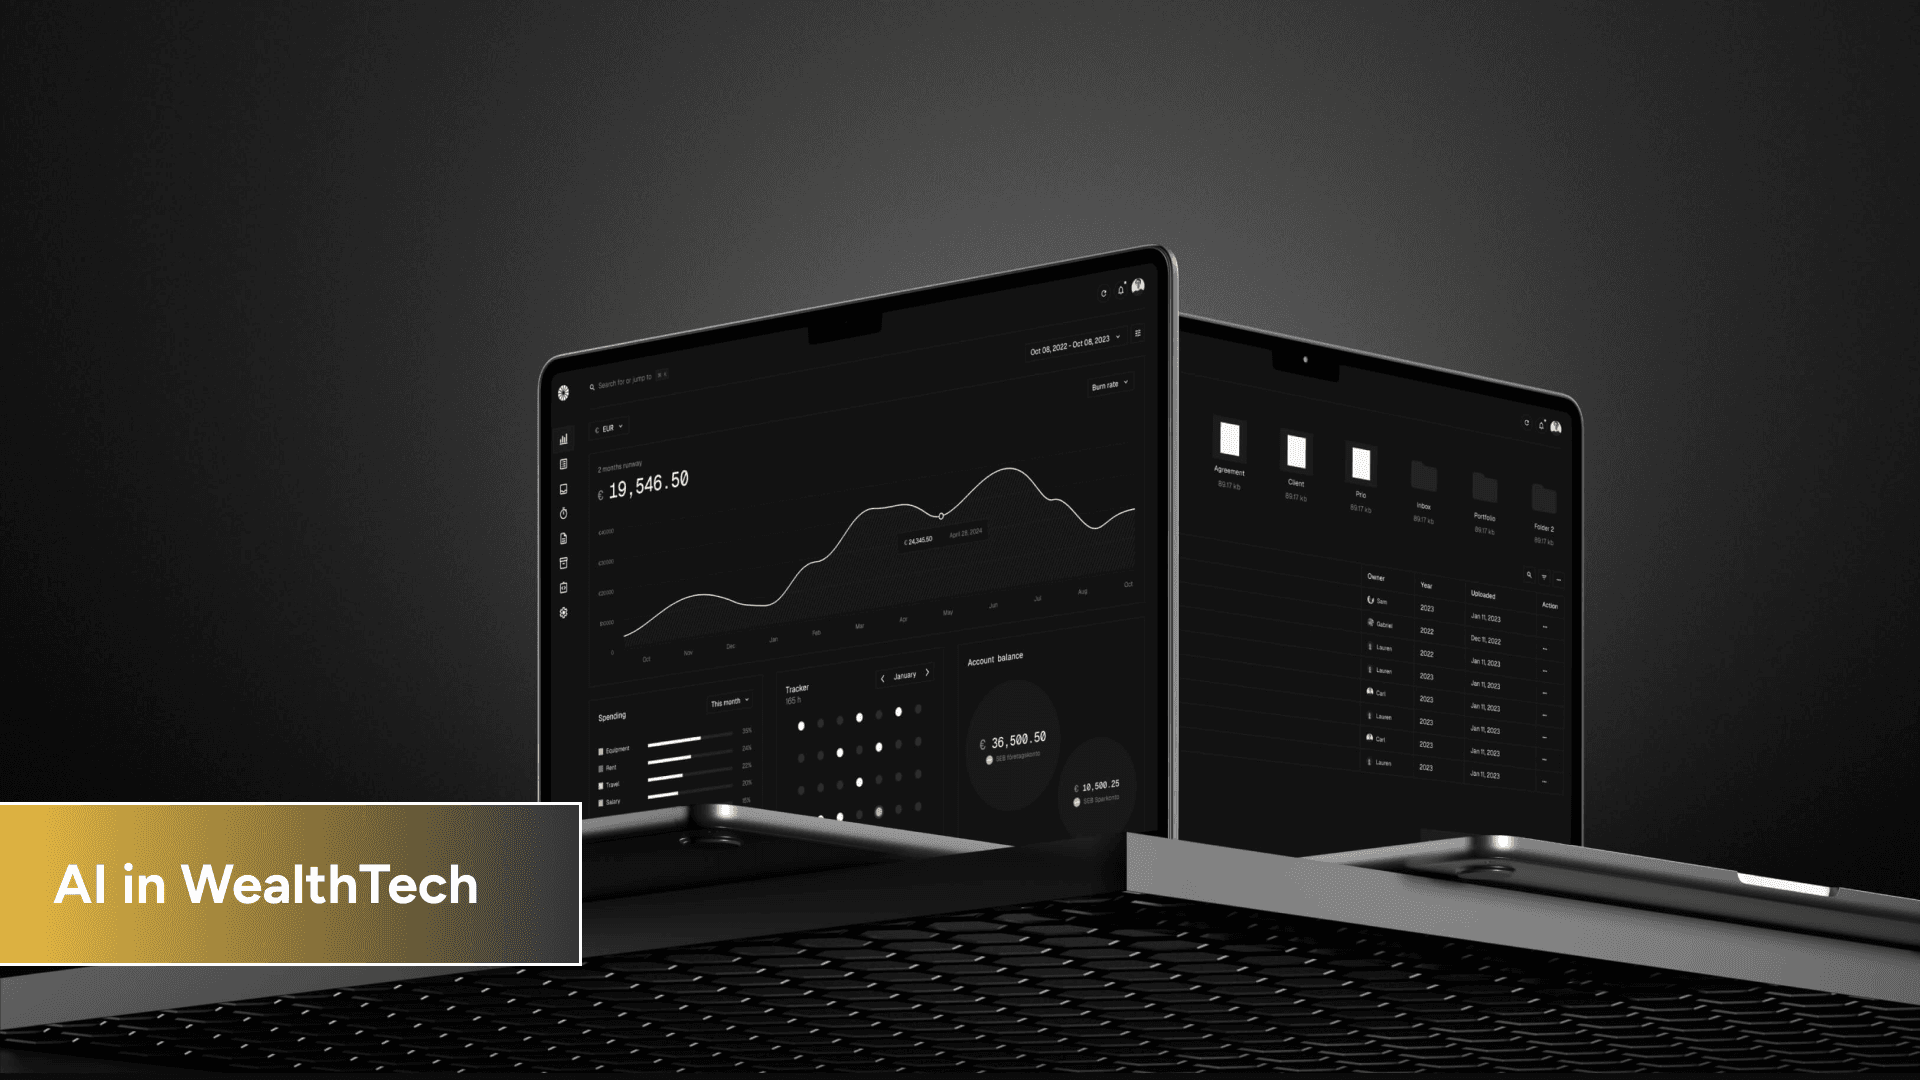
AI in WealthTech: Building Scalable Portfolio Management Platforms for Predictive Investing and Risk Forecasting
Discover how AI-native platforms are revolutionizing WealthTech by enabling real-time, predictive investing and advanced risk forecasting. Learn the core operational pillars and engineering priorities for building a scalable portfolio management system.