Table of Contents
A Classic Ping-Pong Game in Flutter
Author

Date
Book a call
During the Google I/O event 2022, Flutter team announced the Casual Games Toolkit, to pull together new and existing resources that enable us to speed up the development of casual games. Building a game is always fascinating. So, today we will see how we can build different components in flutter and combine them together to build a game using the Flame Engine.
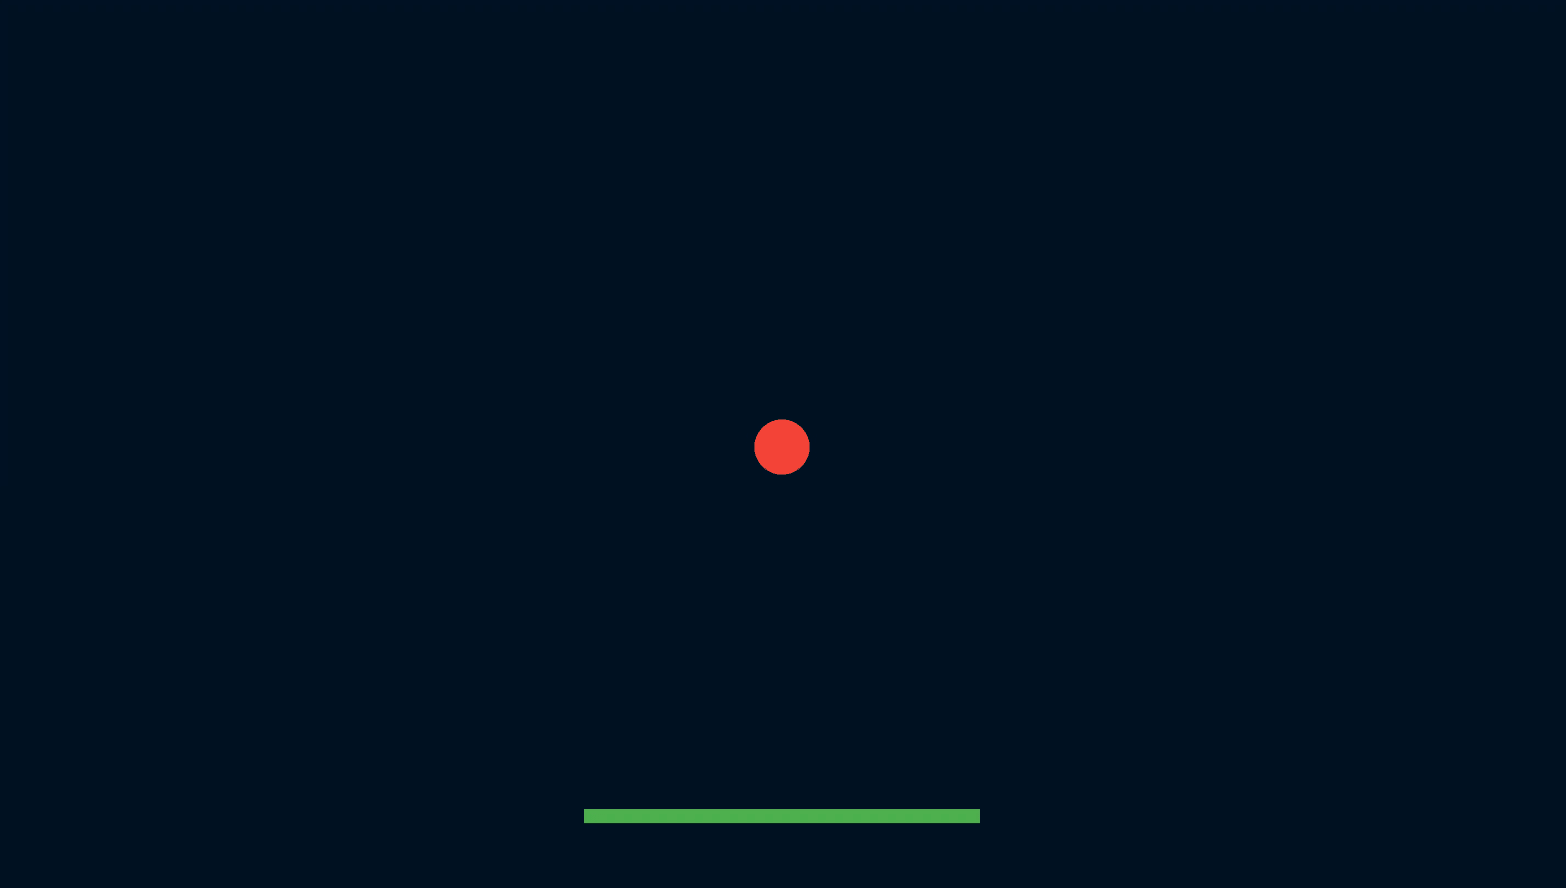
The concept of this game is that there is a ball and paddles. The ball will move freely on the canvas and the paddle will move only in 2 directions i.e., left or right. Once the ball hits the paddle it will rebound.
Flutter
Flutter is an open-source framework by Google for building beautiful, natively compiled, multi-platform applications from a single codebase.
Since Flutter can render UI at up to 60 FPS, we will use this capability to build a simple game using the flame engine.
Flame Game Engine
Flame is an open-source game engine built on top of Flutter - that provides various game development tools such as input, images, sprites, animations, and collision detection to create 2-D games.
Prerequisites
- Flutter, version 2.10.0 or above;
- Visual Studio Code, or any other IDE, for example, Android Studio;
- Git, in order to save your project on GitHub/GitLab.
Getting Started
This game comprises 2 playing modes i.e., Single-player, and Multi-player.
There are four main tasks of the game:
- Background: A field for playing the game.
- Ball: A circular component which will move on the canvas.
- Paddle: A rectangular component to hit the ball.
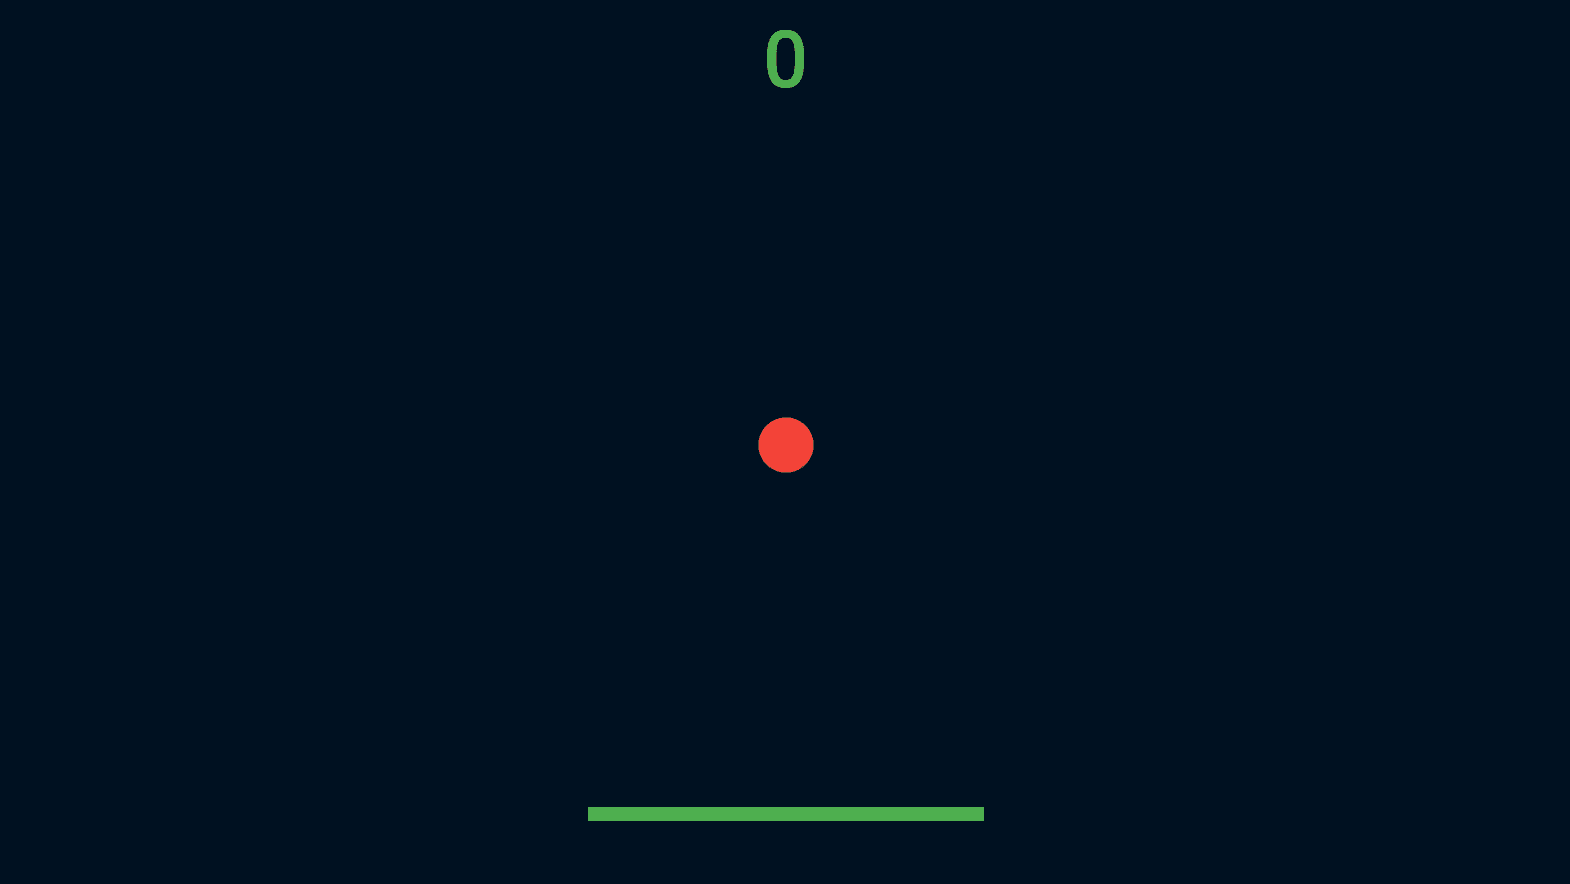
- Score: A text component to keep track of the points.
Package Dependency
To get started with Flame, you need to install the package. In your pubspec.yaml file, add the dependency as shown below:
Flame Game Loop
The first component that we will set up is the flame game loop. All other components will be created and managed from here.
onLoad: This method loads the background, ball, paddle, and score for our game and registers them for the action.- When a game is added to a Flutter widget tree the following lifecycle methods will be called in order:
onGameResize,onLoad, andonMount. After that, it invokesupdateandrenderback and forth every time until the widget is removed from the tree.
To render the game we have to use GameWidget, which takes the instance of the FlameGame.
GameWidget: It is a Flutter Widget that is used to insert a Game inside the Flutter widget tree.
Creating Background
To add a background to the screen we will draw a rectangle using the render() method.
gameRef: It is a getter provided by the mixinHasGameRef, it provides the instance of the current game.onGameResize(): It is used to set the position of the component based on the screen size. This method is called before the component is rendered.render(): This method is used to draw the components, to accomplish this it provides a Canvas object that offers a wide range of methods to generate content on the screen.

Creating Ball
To create a ball we will use Circle Component. It requires the radius and the colour of the component.
update(): This method is used to change the state of the game and its component. The update method provides a parameter that contains the delta of milliseconds since the last build.

Now we will use the MoveByEffect method to move the ball, It requires the offset and the controller.
Collision detection is needed to detect and act upon two components intersecting each other. Collision detection systems use HitBoxes to create bounding boxes of the components.
To make the ball collide we will use CircleHitbox and add the ScreenHitbox Component which represents the edges of the screen.
Collision Detection
As soon as the Ball hits the edge of the screen the intersection points will be provided by the callback, and based on these intersection points we will revert back the ball.HasCollisionDetection is a mixin used to keep track of the components that can collide.
Creating Paddle
To create a paddle we will use RectangleComponent. It requires the position and the size of the component.
We will detect collision with the paddle by using RectangleHitbox.
As soon as the ball hits the paddle the intersection points will be provided by the callback, and we will change the direction of the ball by changing its coordinate points.
After that, we can add the movement in the Paddle with the help of keyboard keys and add the keyboard events to the game, so with the ArrowLeft key the paddle will move to the left and with the ArrowRight key, the paddle will move to the right.
Building Points System
At last, Let's build the point system with the help of Text Component which requires a text and text-renderer.
Currently, the Game supports mobile and web platforms. In the case of the web, there are two game modes i.e., single-player and multi-player. The movement of the bat can be handled by the keyboard keys. In the case of mobile, there is only a single-player mode and the movement of the bat can be handled by the swipe left, swipe right gesture.
Playing Instructions
- Press 1: For a single-player game. Use ArrowLeft and ArrowRight keys for playing.
- Press 2: For a multiplayer game. Player 1 can use W, and S keys and Player 2 can use ArrowUp and ArrowDown keys.
- Press Space: For replaying the game.
- Press Enter: For the main menu or the switching the game mode.
Play the Live Game 🕹
Here is the Source Code 🔗
That's it… We have completed our game using flutter-flame-engine. HAPPY GAMING :)
Related Articles
Dive deep into our research and insights. In our articles and blogs, we explore topics on design, how it relates to development, and impact of various trends to businesses.